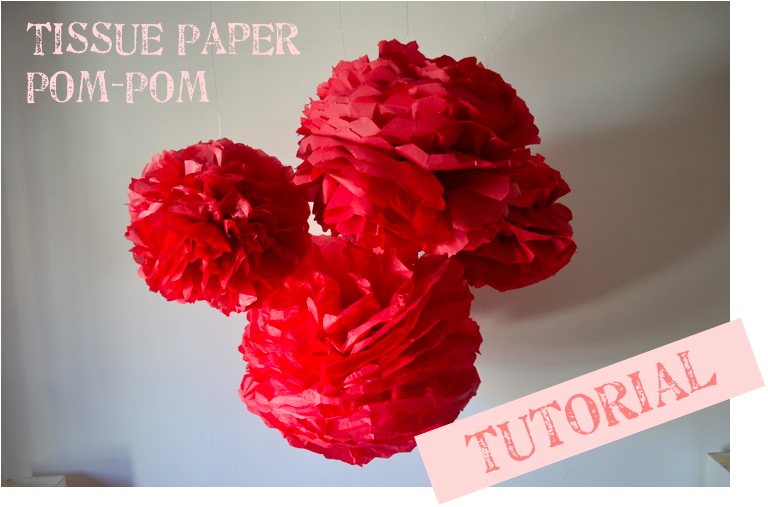
tissue paper pom-pom tutorial

My first tutorial.

Yeeee-haw.

I hope you’re ready for this. It IS pretty much the holiday season and all so you might want to make these soon.

Red and green?!

You definitely want to make these.

Yes, yes. You do. They are super easy and super cheap.

Let’s not forget SUPER Martha Stewart and insanely adorable.

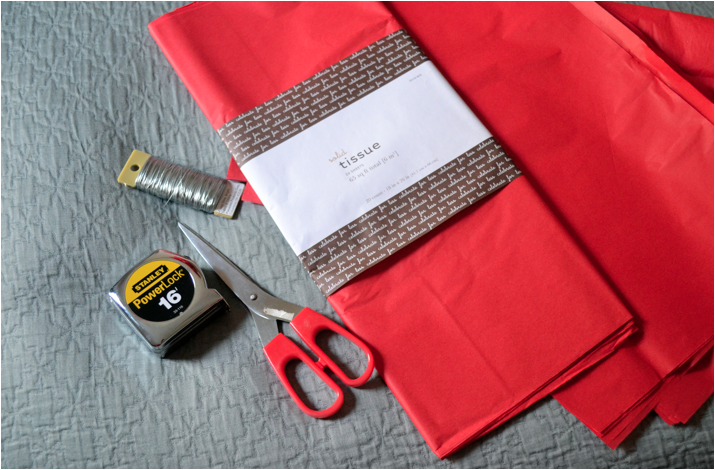
Here’s what you need:

colored tissue paper (your preference)

scissors

a tape measurer

floral wire

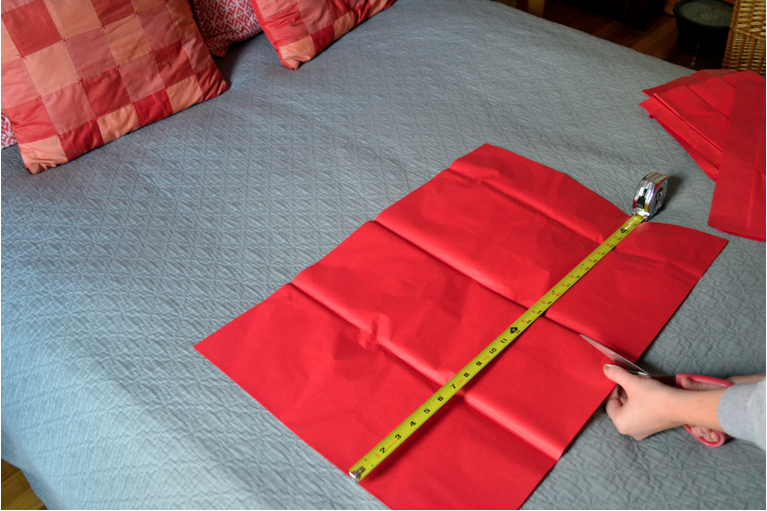
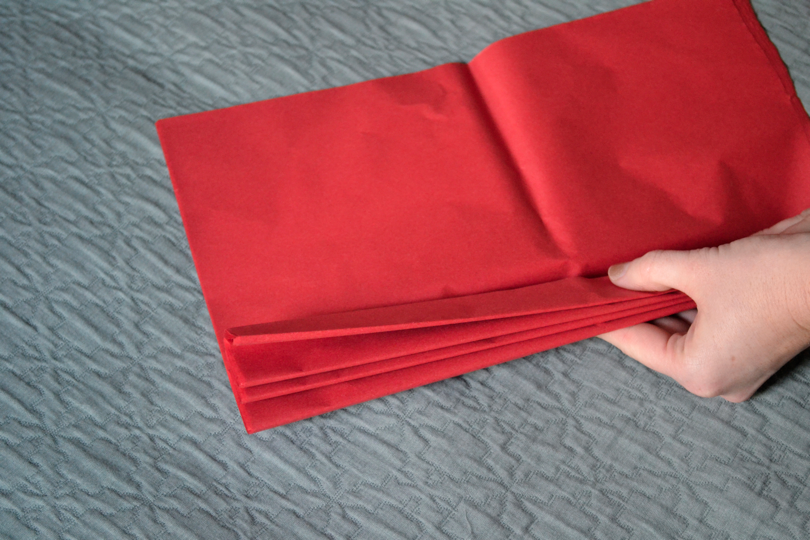
First, make sure you have 8 pieces of tissue paper. Then, you want a reasonably sized width of paper to work with. I made mine around 13.5 inches. There is no significance in this number, I just wanted some different sized paper balls, so I made my widths random.

Length should be around 20 inches. Give or take.

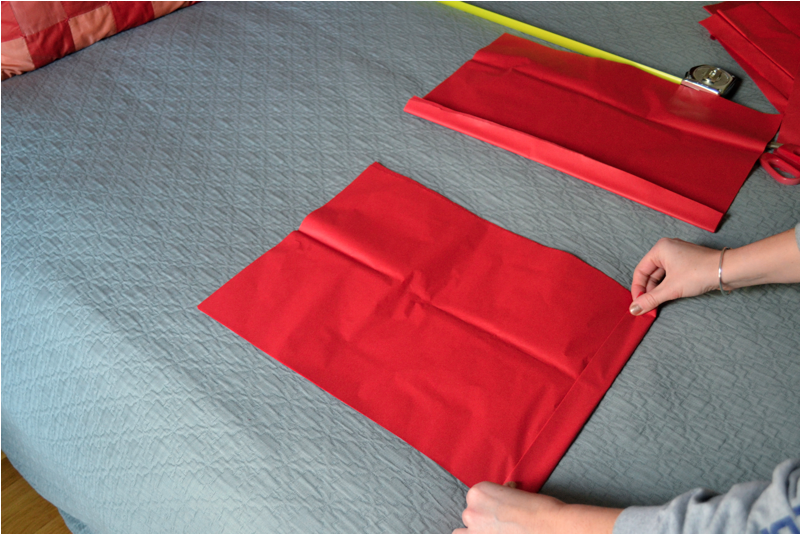
After you get the width you want start to fold the paper accordion-style.

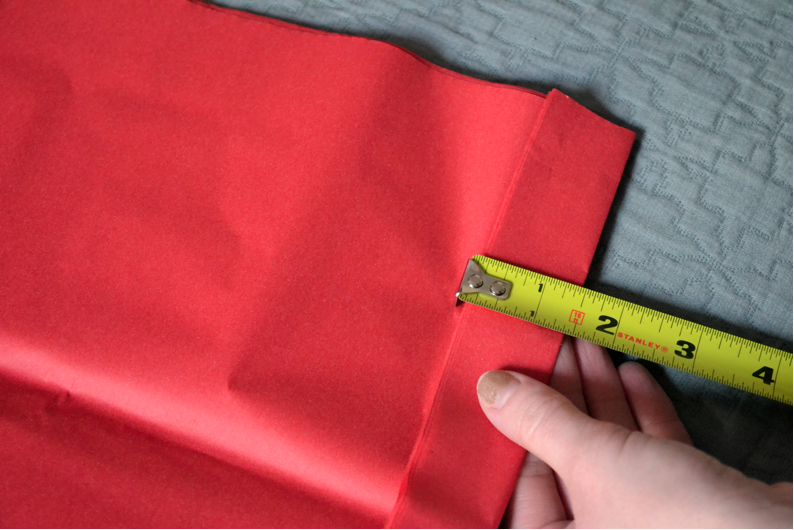
I made my creases about 1.5 inches. I though this length worked fairy well.

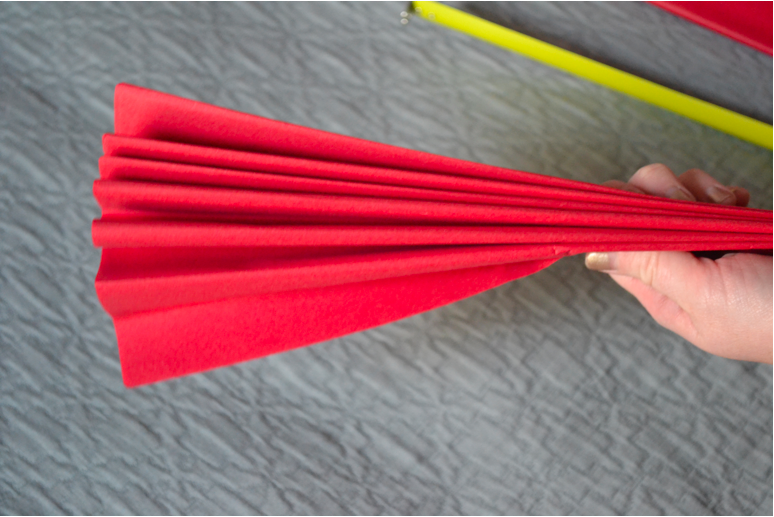
Fold that paper up real good.

Like that.

Fan yourself for a minute. The hard part is over.

(not really, but fan yourself anyways for fun.)

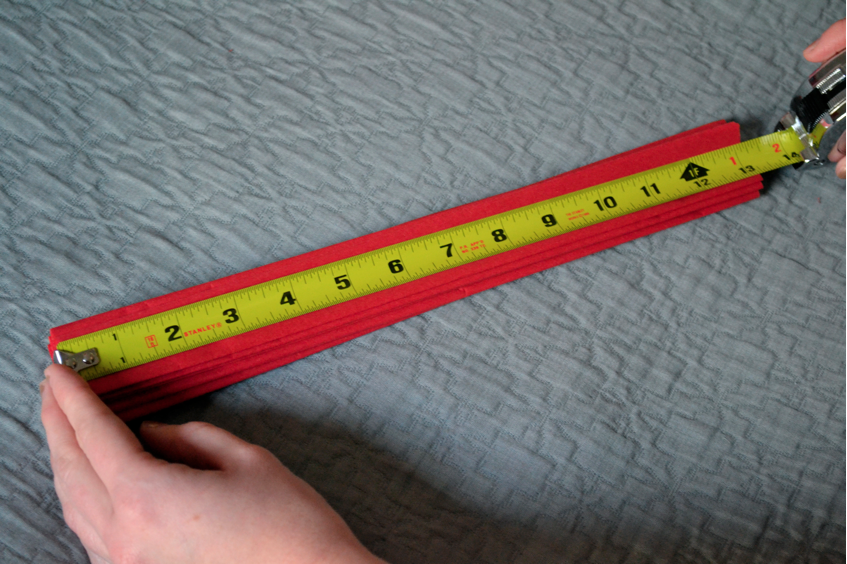
Find out where the halfway mark is and get your floral wire ready.

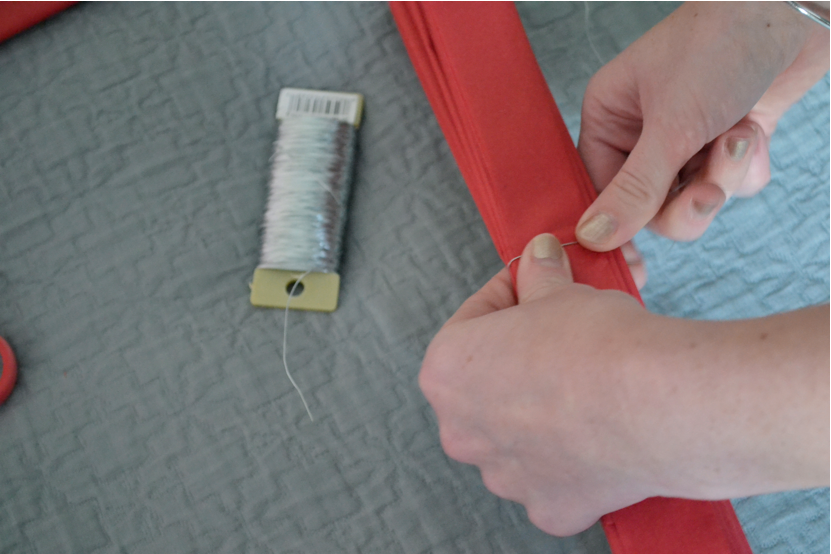
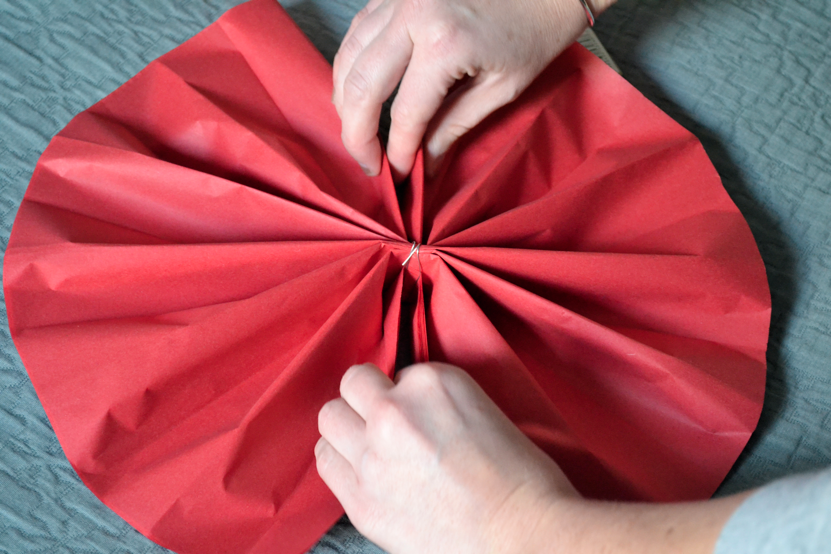
Place the wire around the middle.

The next bit I’m about to write here is optional.

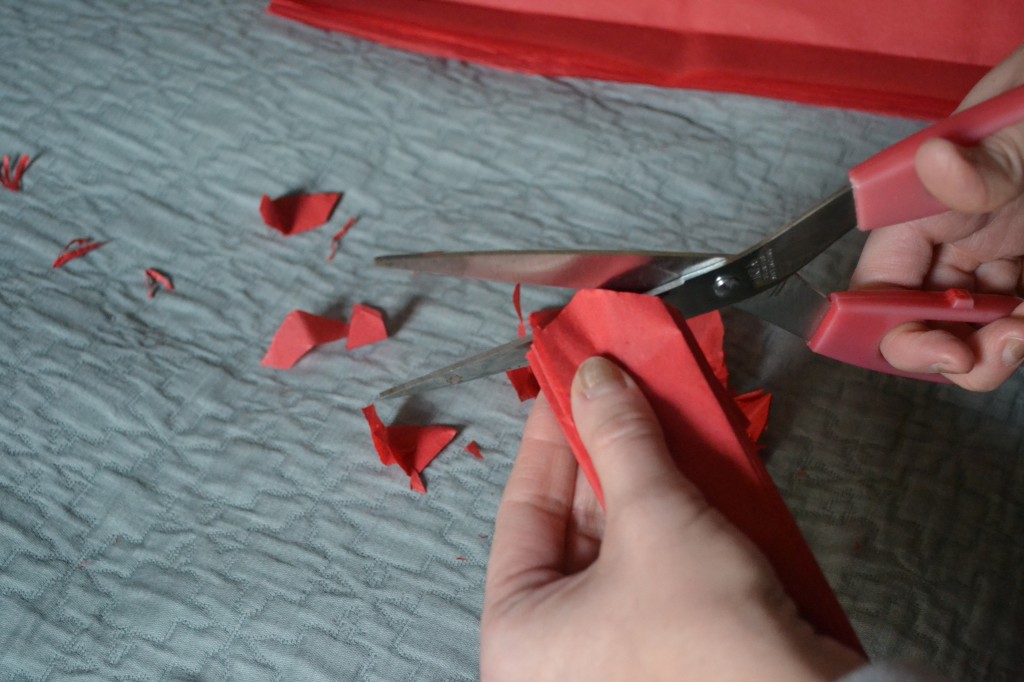
Cut the ends of the paper so that it’s either round or pointed. Or don’t cut it at all. I did a variety and they all look pretty much the same. There is a slight variation, but nothing crazy.

It’s actually rather annoying to cut, so if you don’t want to get frustrated (which I did, I lied about the first part being the hardest) just forget this part.

If you do decide to trim the ends, don’t say I didn’t warn you.

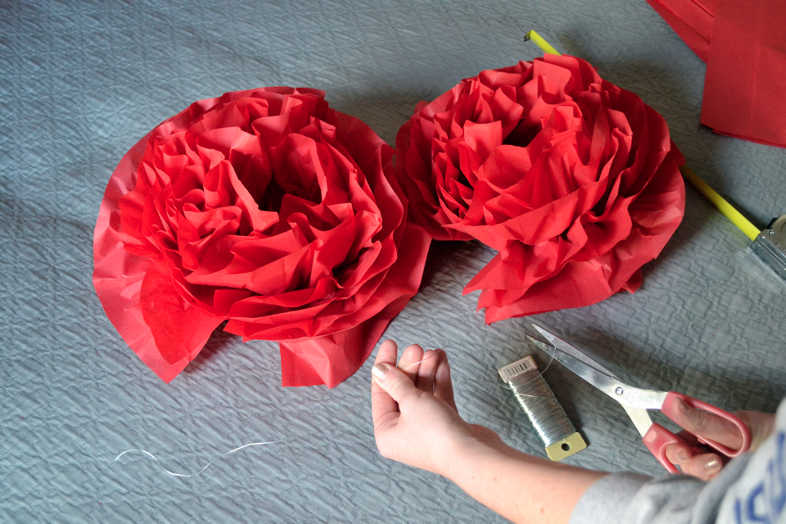
Then you spread open your fan. All the way so that it forms a circle shape.

Then comes the fun part.

Start separating the paper.

Careful! It rips easy!

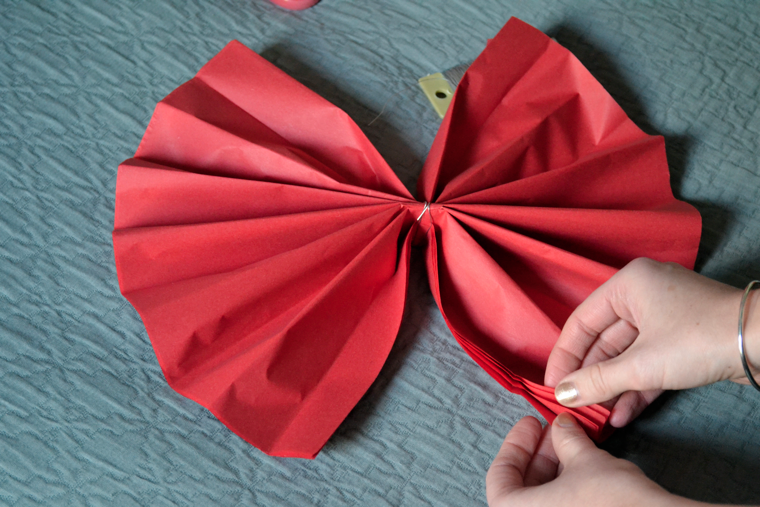
Pull the paper up towards the floral wire.

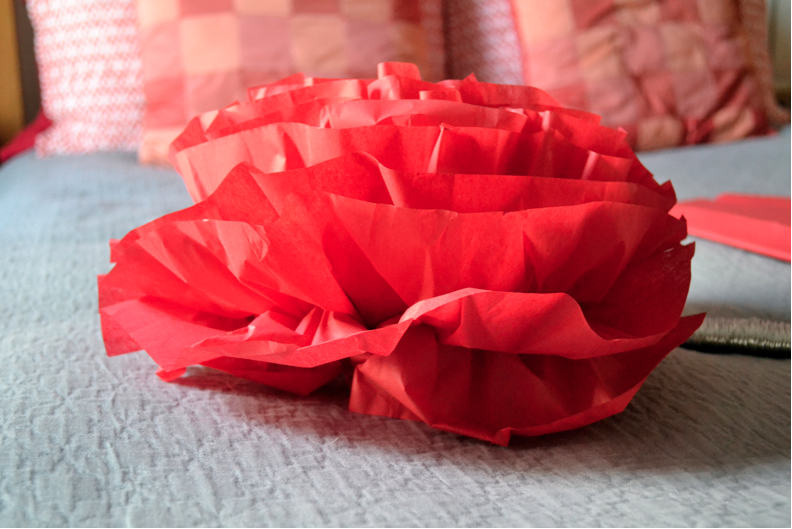
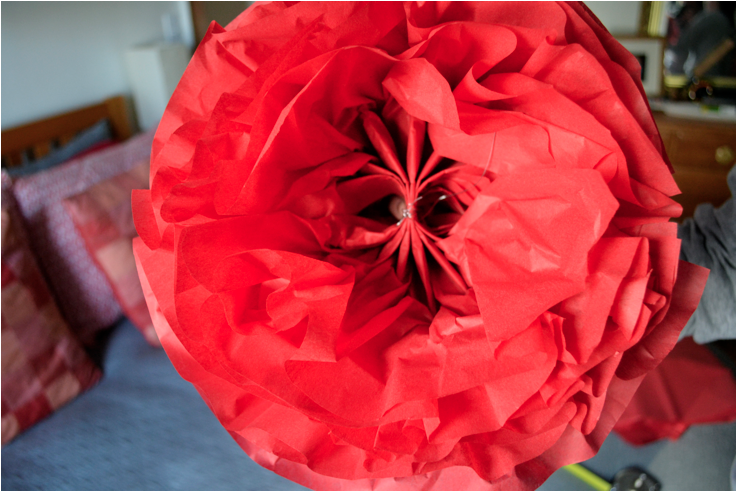
Keep fluffing until it looks like this:

Sweet!

Awesome!

Terrific!

Now, start all over from the beginning and do exactly the same thing again.

For reals, every single step.

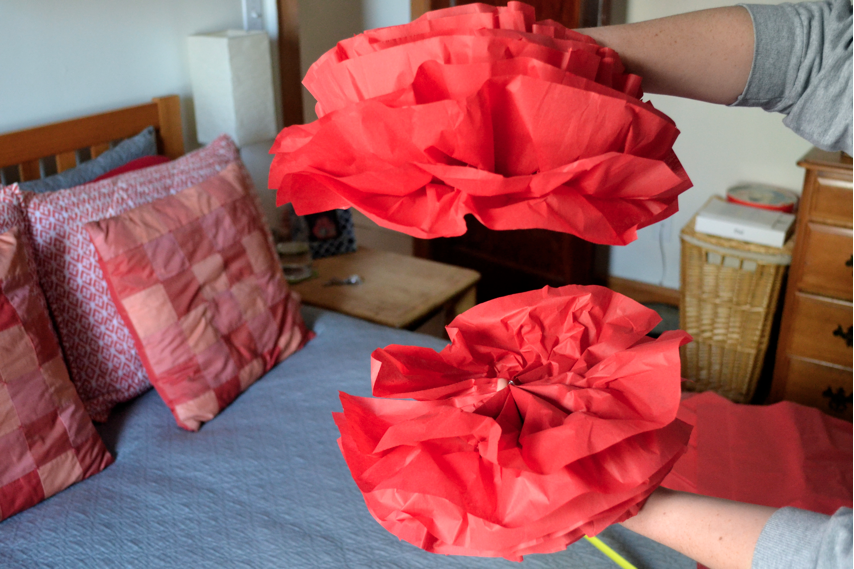
Because you need 2 fluff balls if you want the real deal.

After you’ve got 2 parts, cut some more wire. About a foot.

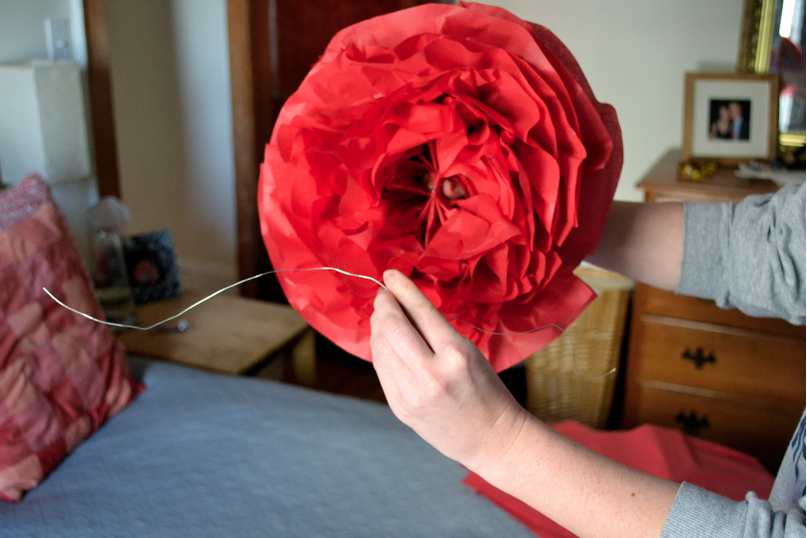
Then you’re going to want to push the two half-balls together and string some wire around the middle so they’re connected.

It’s tricky because there’s a lot of fluff happening.

But you can do it. I believe in you.

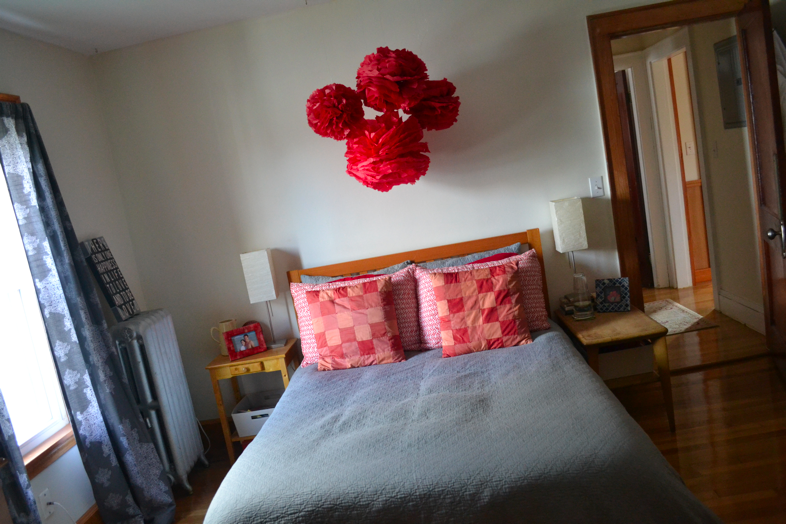
Last, but not least, you need to hang this beauty.

Cut some wire that’s about the length you want it to fall from the ceiling. First, connect one end to the center wire by twisting it on, then poke the other end into the ceiling with a push-pin.

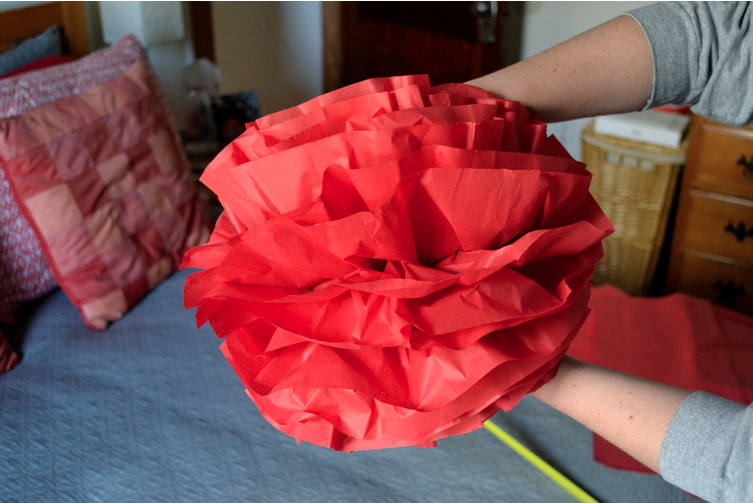
Voila!

You’ve got yourself some fancy pants pom-pom balls.

Beautiful decoration on the cheap.

Happy crafting!
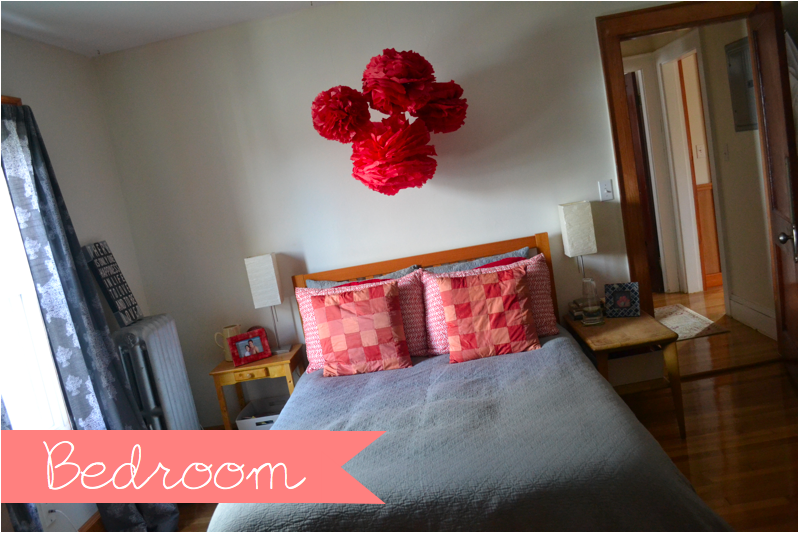
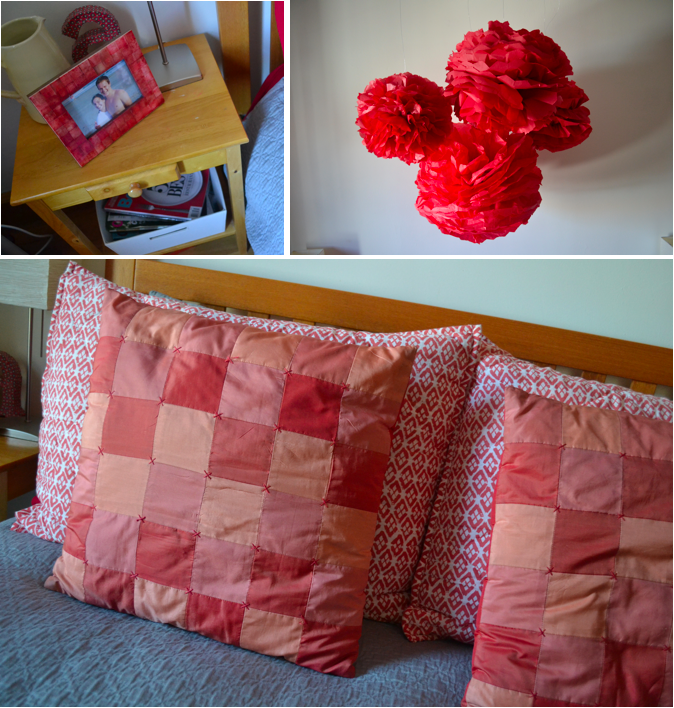
apartment tour: bedroom

And so today marks the conclusion of the apartment tour. I hope you liked it. I certainly had fun showing it off. It’s work, putting a place together, but for me it’s super fun too. Once at a staff meeting during an “icebreaker” (can’t say that I love those), the question was asked, What would you be if you weren’t a teacher?, and the answer to that is so easy. I would be an interior designer. Grace Bonney would be my boss and I would work and blog at Design*Sponge. DREAM.

I would meet fun people and style homes and apartments with unique ideas and DIY talent.

All the live long day.

But for now, I guess this place will just have to do…

With any place, it’s all about the details you choose to incorporate into the home. What colors do you like? What memories do you hold close? How do you want to spend your evenings after a long day at work? Make your place comfortable and make it reflect you.

Personally for me it’s about color, charm, and attention to detail, which I think I captured just perfectly here in this wonderful apartment. I’m glad to call it home and I’m glad to have shared it with you.

Now who wants to come over for dinner??

Have a great weekend everyone!

apartment tour: dining room

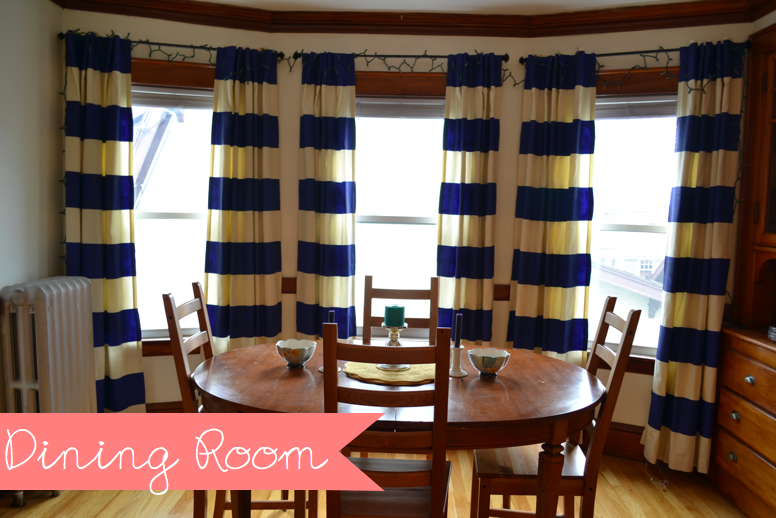
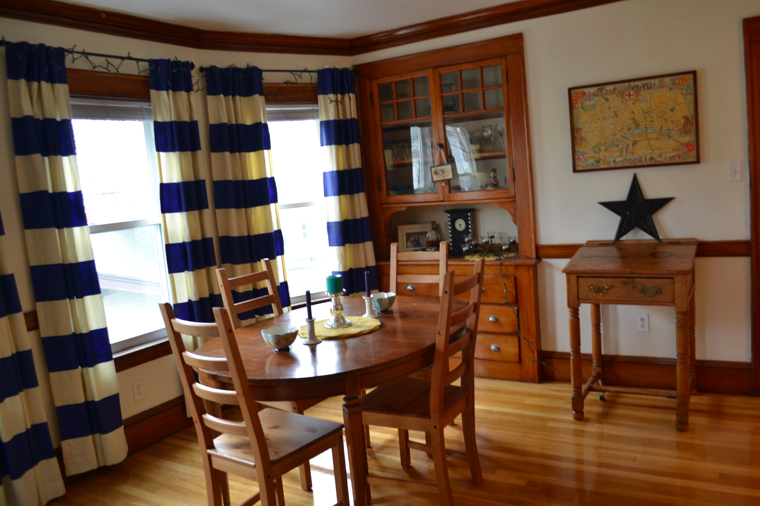
On to the dining room! This room holds a special place in my heart because I spent so much freaking time on the curtains! Yes indeed, I made them myself with my own two hands. Painted them, I should say. And it took me a looooooong time. Good thing they look awesome, cause otherwise it might not have been worth it. I really love the way this room turned out. The colors are beautiful and a nice contrast with the living room, which is right next door.

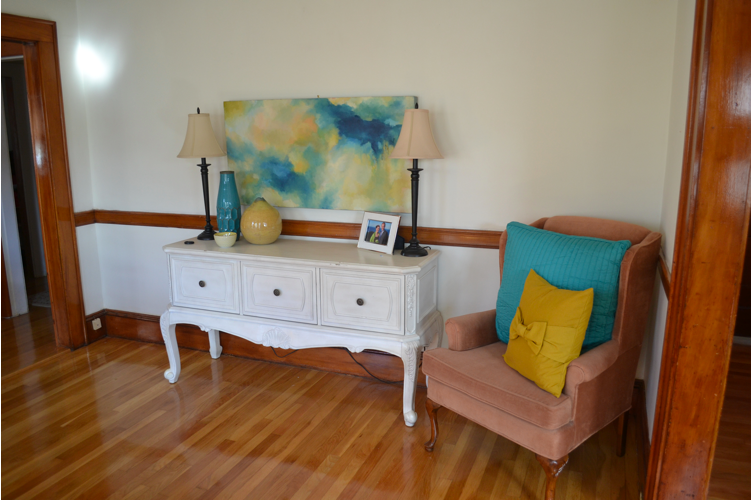
The buffet table was gifted to us from Zan’s family (I’d been eyeing it all summer long) and it’s the perfect piece for that long wall. The day they told me we could have it I did a little dance that might have had me snapping my fingers and clapping my hands.

See that wing-back chair? One day back at my old apartment I found a guy throwing a pair of these chairs away. Said they were his mothers, and that he was moving to China and needed to get rid of them. Um, whaaaat? Instantly, they were mine. Freeeeeeee. For now I am looking into oatmeal colored slip covers (the other chair is in the bedroom), but eventually I would like to have these puppies slipcovered in a spectacular fabric. Like, when I’m old and rich. Or something like that. A girl can dream.

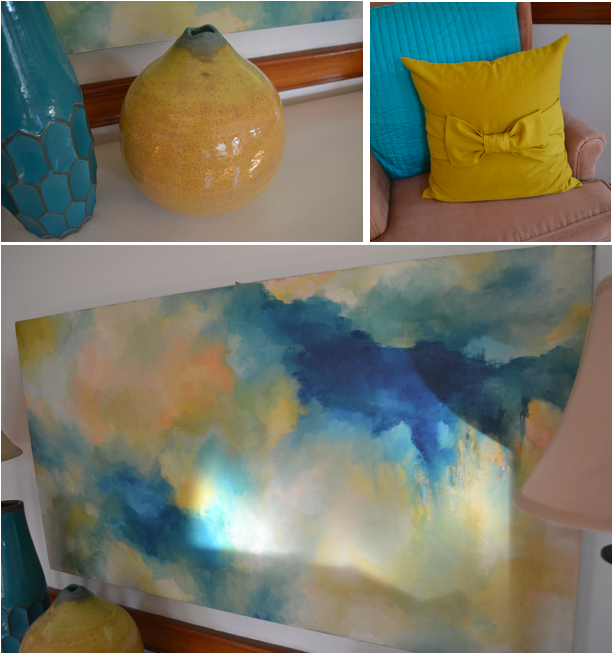
Best of all, my Aunt Heidi (mom’s sister) painted that piece of artwork over the buffet. Isn’t it GORGEOUS? I just think it looks so lovely in this space. Beeee-eautiful.

These touches to the room are my favorite. The turquoise vase is from West Elm, but the yellow one is a handmade piece of pottery by Zan. Yes, he was quite the potter in high school. Who knew? I keep saying we should get a potter’s wheel and a kiln for the basement. Wouldn’t that be something special.

Oh! And I have to mention here that that a-DOR-able mustard yellow bow pillow is from one of my very favorite bloggers, E Tells Tales. She has a shop on Etsy, Iviemade, with the most adorable throw pillows of all time. I just had to get one for myself, and once I decided yellow was one of the accent colors in this room the deal was done.

Up tomorrow: kitchen love. Get ready for it!

things i saw, things i love

It’s been a looooooong time since I’ve done one of these posts. I like to think of it as my “friday favorites”. You know, where I share what I’ve found, the best of the best, after scouring the internet for the gold of all golds. Here’s what I’ve got for you this week, my friends…

Enjoy and soak it all in…

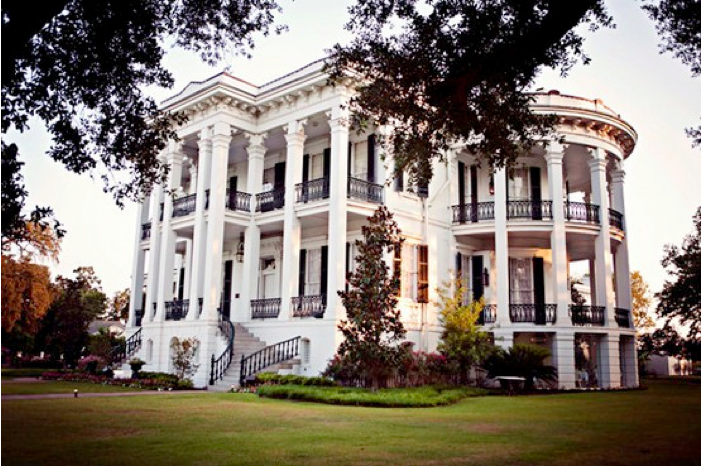
Holy moly is this house inSANE or what?!? This picture was taken at a plantation-style wedding via Style Me Pretty. I don’t know if I’ve ever seen a more gorgeous setting. It’s just stunning.

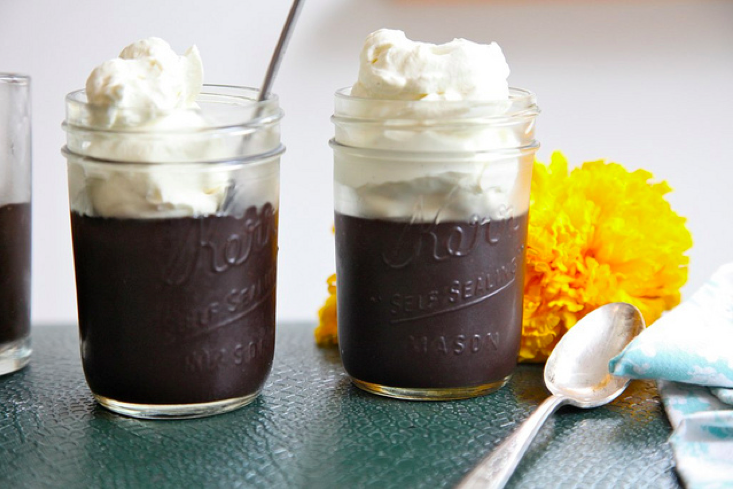
OK, so I need to be eating this chocolate pudding NOW. Or, maybe I can wait til this Sunday when I plan on making it. Deeeeeelicious. Head over to Joy the Baker for the recipe!

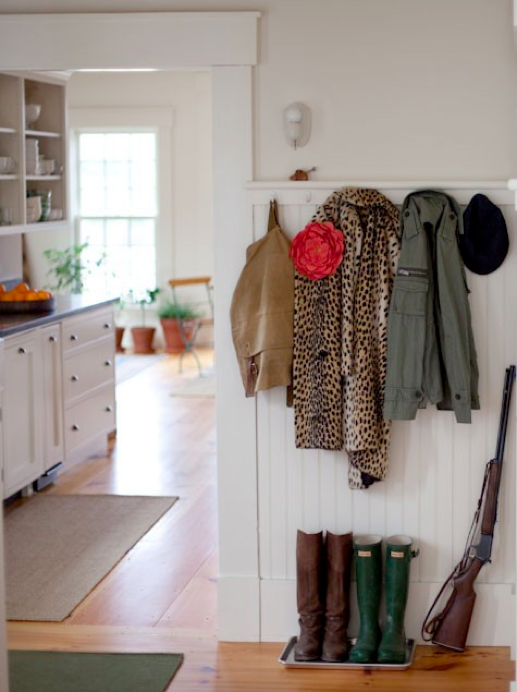
This setting just makes me happy. I love the coat rack and the clean, white feel of the house. Dreamin’ about someday. Seen on Pinterest.

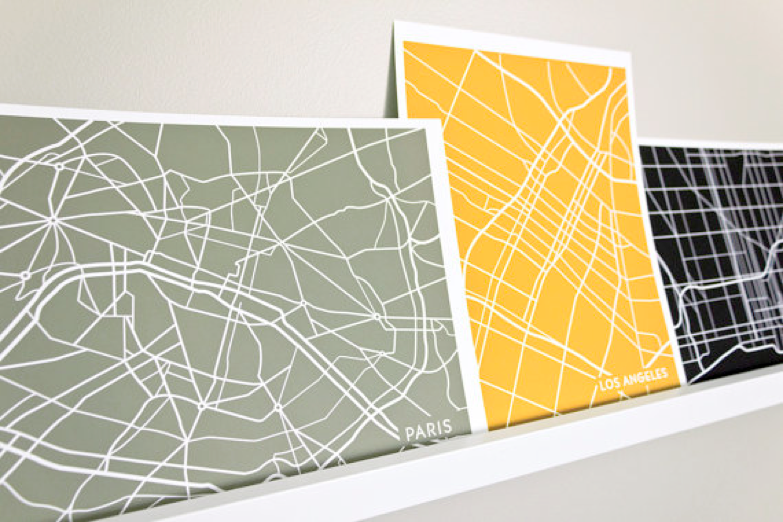
These unique modern city maps are so cool. They are only $18 from artist Jennasue on Etsy. They’ll be featured in West Elm’s 2011 holiday catalog, too, which is pretty awesome. Check ’em!

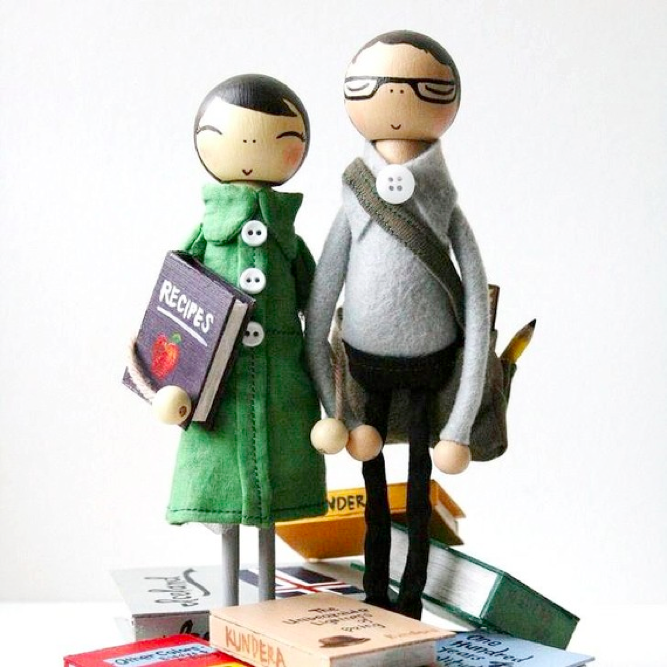
These are wedding toppers! Adorbs!!!!! They’re called ‘Love in the Library’ and you can get them from the Etsy shop Lace and Rubbish. I LOVE.

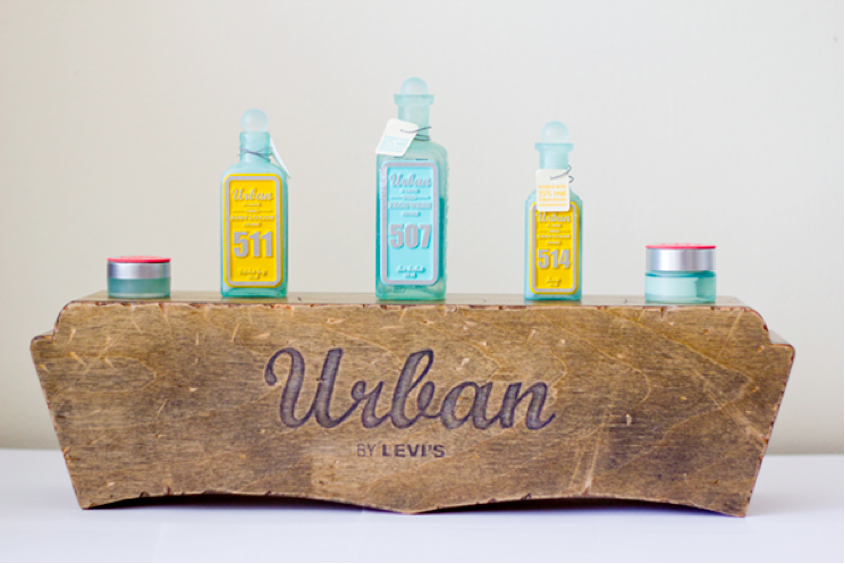
So did you know Levi’s now does beauty products? Me neither! But do I ever love their packaging. I am such a sucker for packaging and I want these products on the top of my dresser! Designed by Harshyla Singh at the Academy of Art University in San Francisco, CA for Levi.

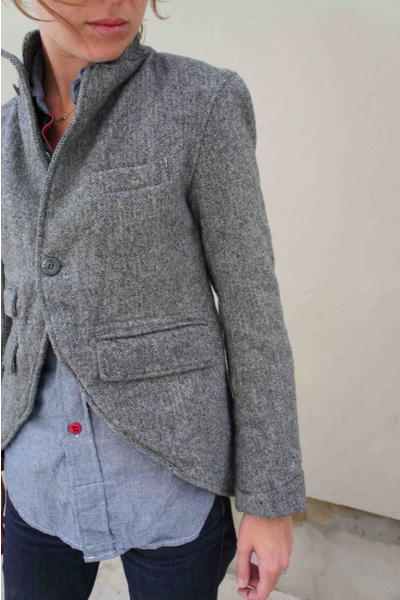
I saw this Blazer on Arrow and Arrow and I almost died. This is my favorite look in the world. So cozy and relaxed, just like a weekend! Both the blazer and the shirt are from FWK Engineered Garments and you can find them on the Bows Plus Arrows shop. Expensive, yet glorious. I’ll never own one of these because of the price tag, but that doesn’t mean I can’t imagine I own one. So imagine I will.

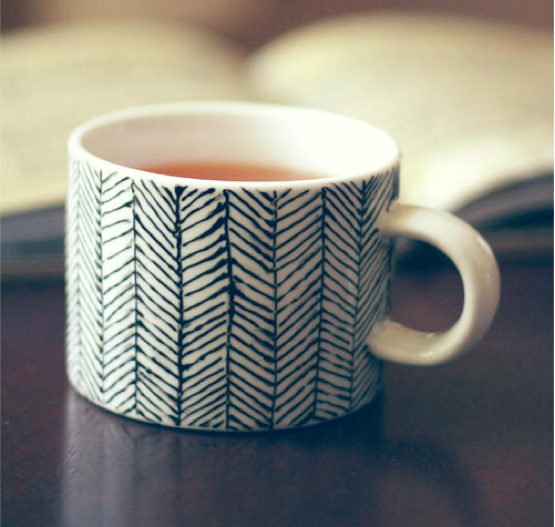
Don’t you love this mug? It’s a DIY and you can do it too! Just click on over to Wit & Whistle to see how it’s done. Surprisingly I’ve been into geometric patterns lately, as well as a lot of evening tea drinking. This mug fits the bill for both of these. I like it. I like it a LOT.

c

Well, that’s all for this installment, folks! Enjoy your weekend! XO.