My first tutorial.
Yeeee-haw.
I hope you’re ready for this. It IS pretty much the holiday season and all so you might want to make these soon.
Red and green?!
You definitely want to make these.
Yes, yes. You do. They are super easy and super cheap.
Let’s not forget SUPER Martha Stewart and insanely adorable.
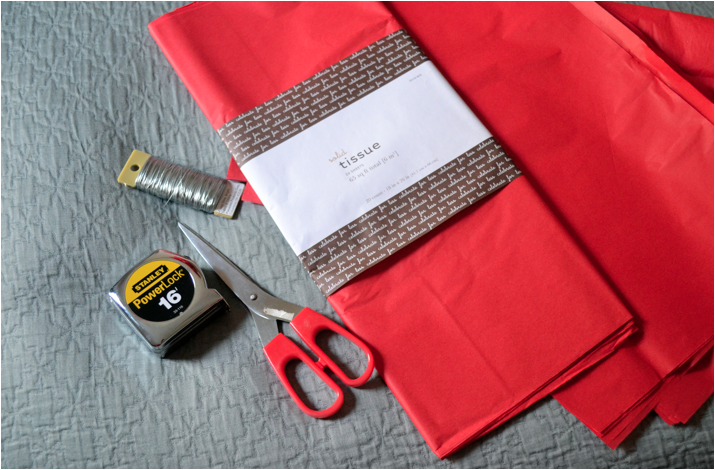
Here’s what you need:
colored tissue paper (your preference)
scissors
a tape measurer
floral wire
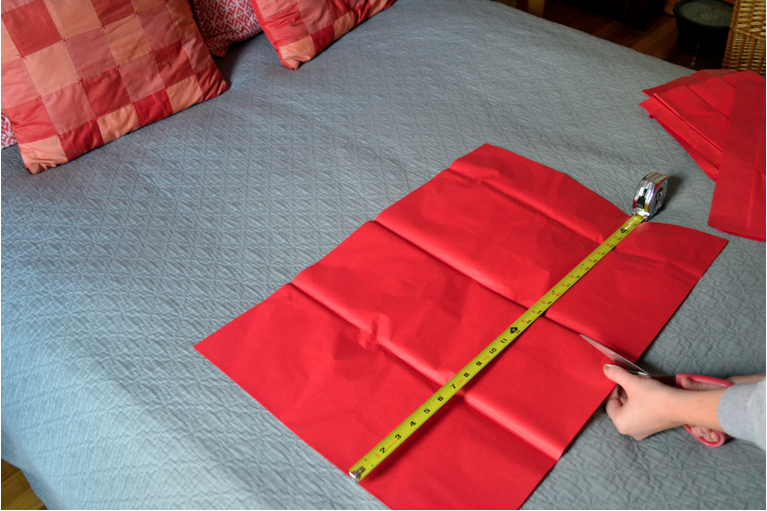
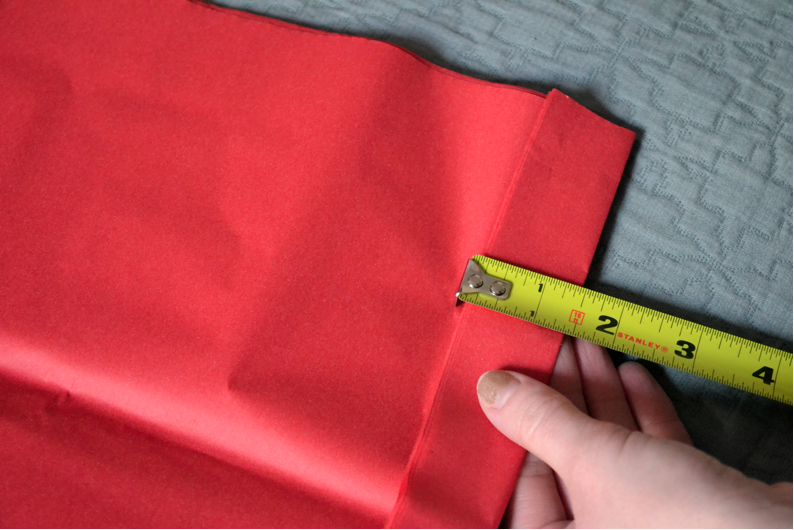
First, make sure you have 8 pieces of tissue paper. Then, you want a reasonably sized width of paper to work with. I made mine around 13.5 inches. There is no significance in this number, I just wanted some different sized paper balls, so I made my widths random.
Length should be around 20 inches. Give or take.
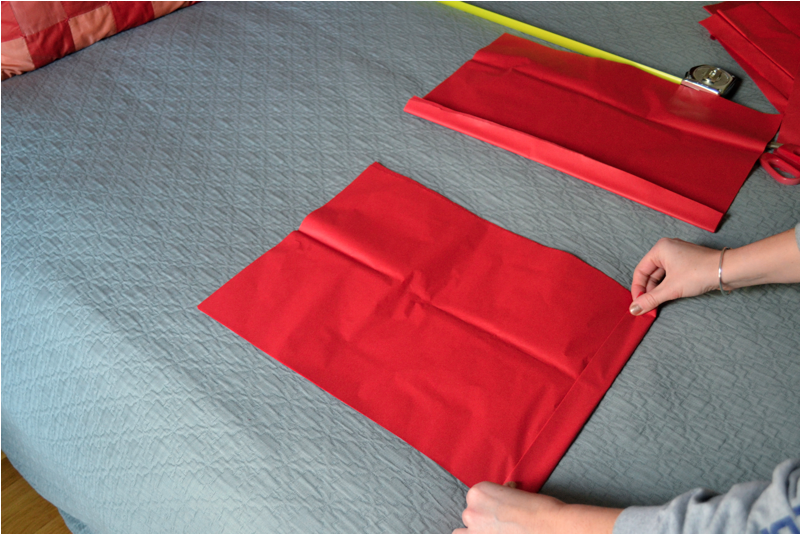
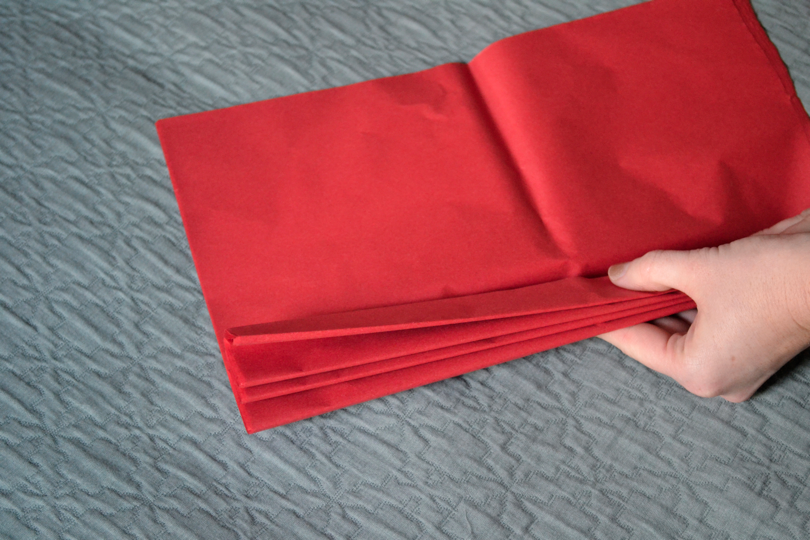
After you get the width you want start to fold the paper accordion-style.
I made my creases about 1.5 inches. I though this length worked fairy well.
Fold that paper up real good.
Like that.
Fan yourself for a minute. The hard part is over.
(not really, but fan yourself anyways for fun.)
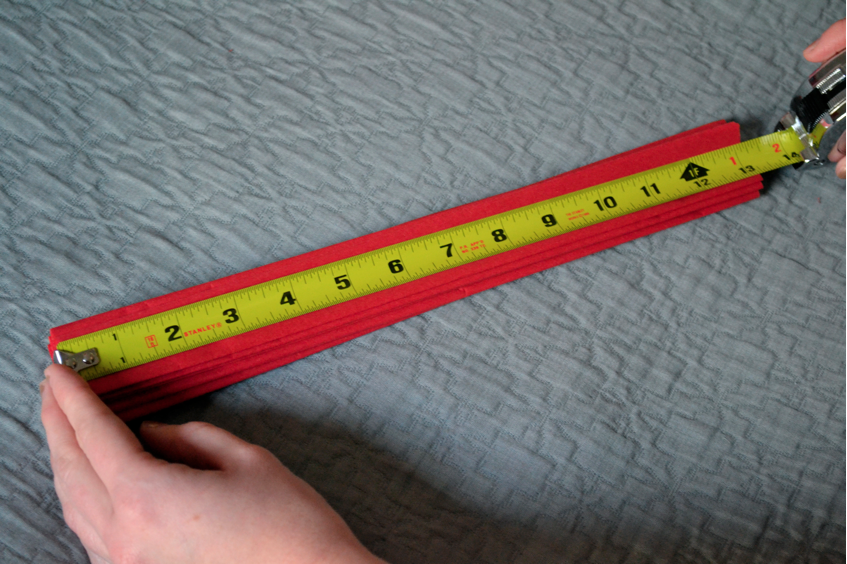
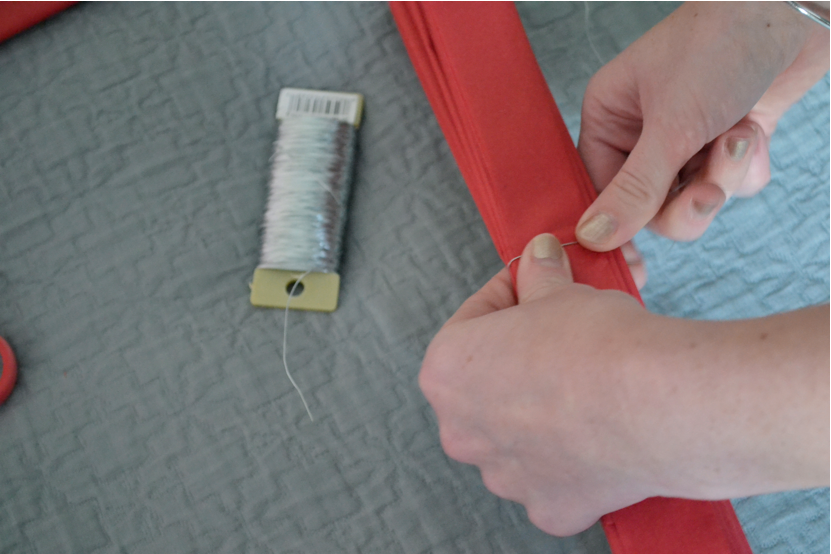
Find out where the halfway mark is and get your floral wire ready.
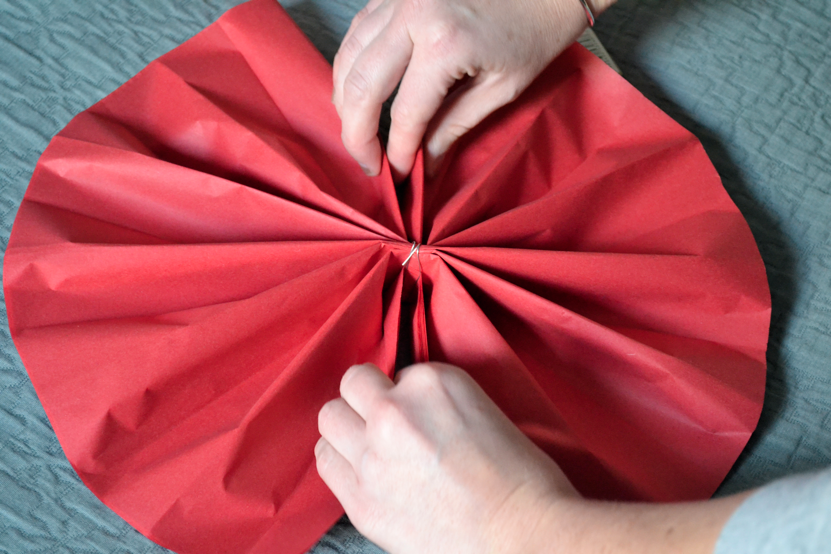
Place the wire around the middle.
The next bit I’m about to write here is optional.
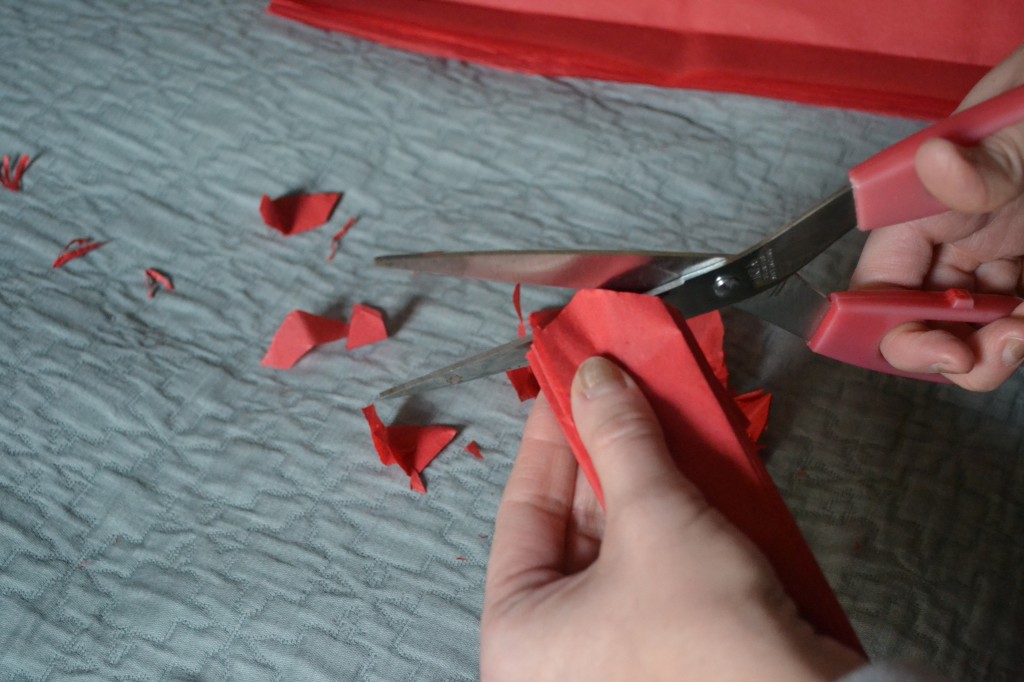
Cut the ends of the paper so that it’s either round or pointed. Or don’t cut it at all. I did a variety and they all look pretty much the same. There is a slight variation, but nothing crazy.
It’s actually rather annoying to cut, so if you don’t want to get frustrated (which I did, I lied about the first part being the hardest) just forget this part.
If you do decide to trim the ends, don’t say I didn’t warn you.
Then you spread open your fan. All the way so that it forms a circle shape.
Then comes the fun part.
Start separating the paper.
Careful! It rips easy!
Pull the paper up towards the floral wire.
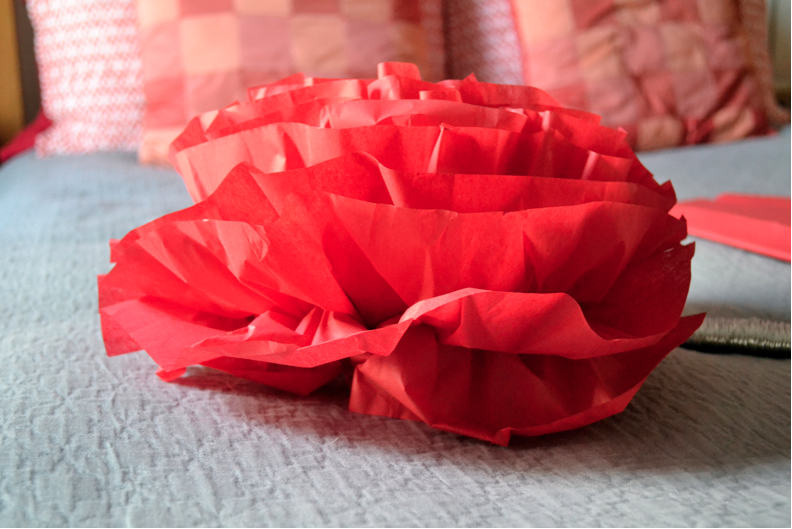
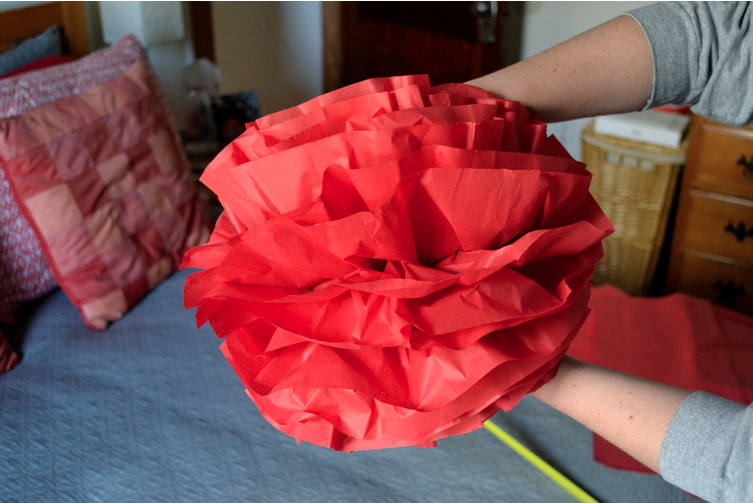
Keep fluffing until it looks like this:
Sweet!
Awesome!
Terrific!
Now, start all over from the beginning and do exactly the same thing again.
For reals, every single step.
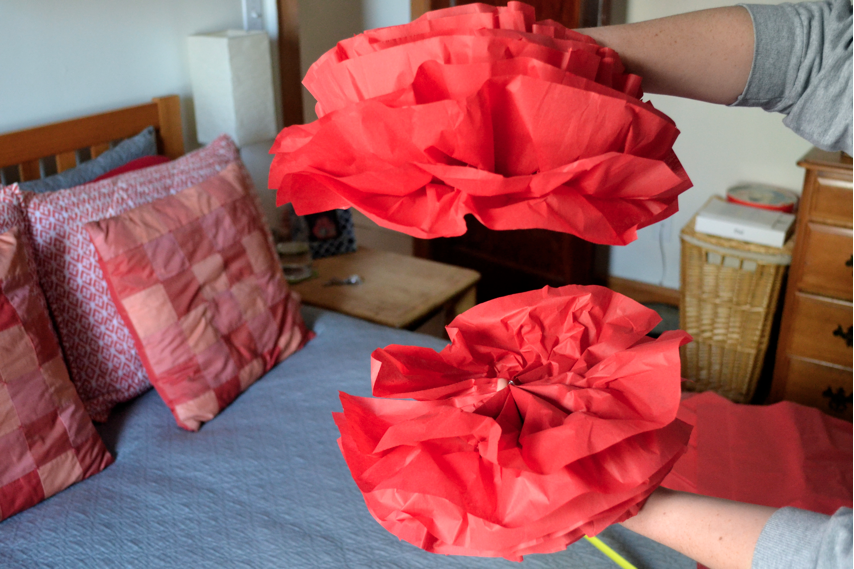
Because you need 2 fluff balls if you want the real deal.
After you’ve got 2 parts, cut some more wire. About a foot.
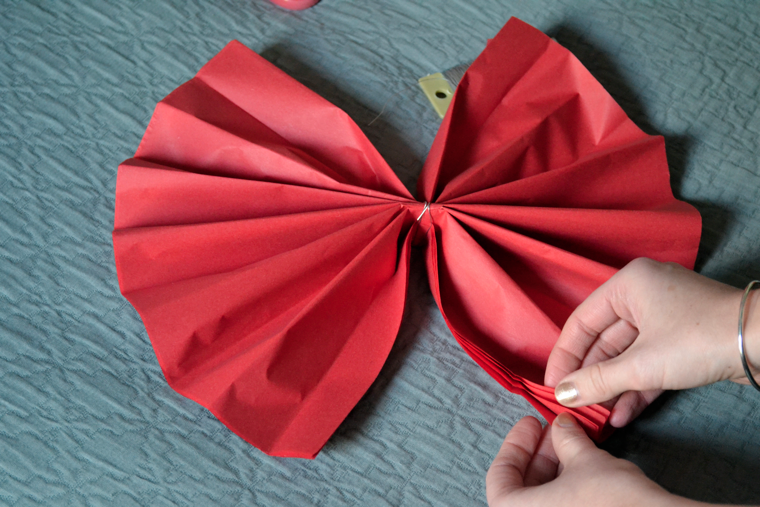
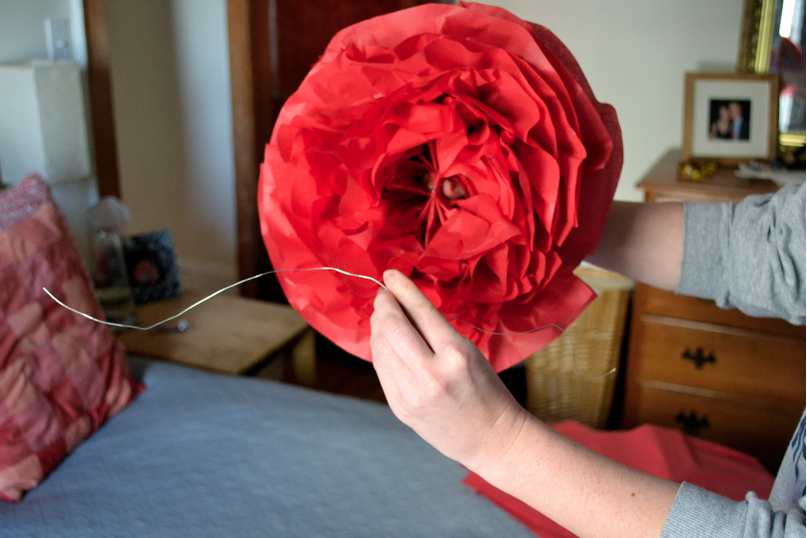
Then you’re going to want to push the two half-balls together and string some wire around the middle so they’re connected.
It’s tricky because there’s a lot of fluff happening.
But you can do it. I believe in you.
Last, but not least, you need to hang this beauty.
Cut some wire that’s about the length you want it to fall from the ceiling. First, connect one end to the center wire by twisting it on, then poke the other end into the ceiling with a push-pin.
Voila!
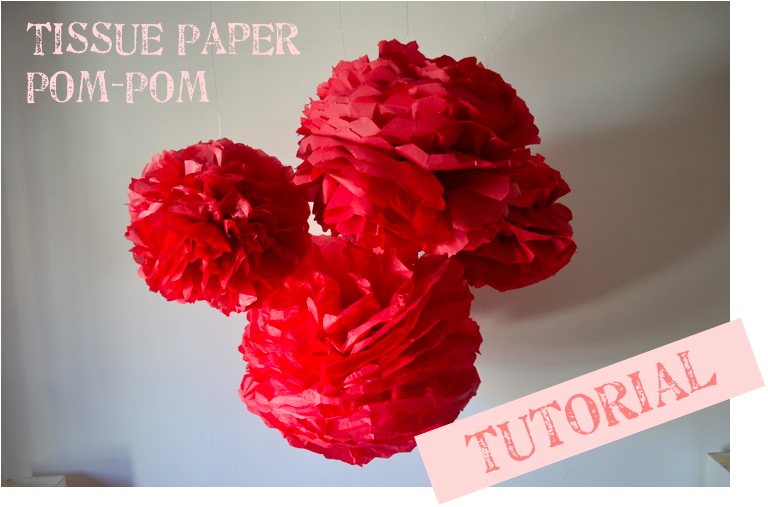
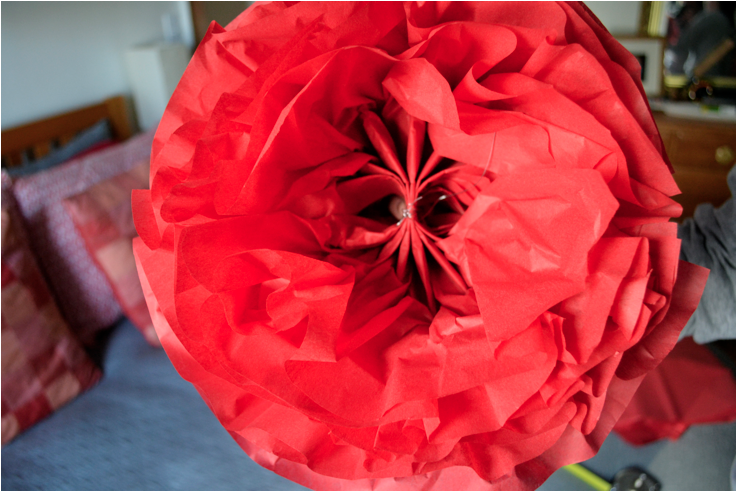
You’ve got yourself some fancy pants pom-pom balls.
Beautiful decoration on the cheap.
Happy crafting!





so fun! great tutorial.
LOVE the tutorial. Who helped take the photos? Don’t even say you self-timered them all…
no way! I suckered Meg into taking them! haha she was getting annoyed at me too!
(sometimes non-bloggers just don’t understand!) :)
I’ve been so inspired by your decorating and so bummed that I couldn’t come up with a cheap piece to put over our bed.
Problem solved. For real.
CU-YOOT! these are officially being made this weekend. my room needs them. thank you for this, clairdear!
You have just transported me back to my pre-teen years (not saying how long ago that was…) when these were SO popular – thank you and great idea!
I’m SO going to try this! THanks friend! (And thank you Meg for taking the pics!) xoxoxo