My second tutorial ever!
Remember my first one? Those totally amazing tissue paper pom-poms?
Yeah, well one fell off the ceiling a few weeks ago and Zan rolled over onto the tack in the middle of the night. I hope you’re laughing right now because I am.
Although, to be quite honest, he definitely wasn’t.
Aaaaaanyways.
Welcome to Tutorial numero duo: How I Edit My Pictures.
(I realize this post might not be relevant to a ton of people, but I’ve gotten a handful of questions about it over the past month, so I thought I’d give it a go.)
Let me start off by admitting that I don’t know if this is the best way to edit photos, but it’s free, and fairly easy, and above all, it works for me. So for those of you that are interested in how I get things done around here, or are even maybe just a little bit curious, read on…
First off, I use a MacBook.
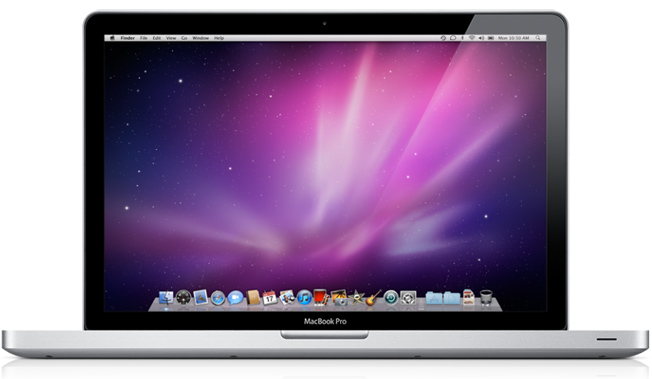
I totally and completely swear by all things Apple and you should too.
FOR SERIOUS.
I use iPhoto and Pages to edit my pictures for my blog:
Pages is basically the Mac version of Microsoft Word, but WAY better in my humble opinion. My MacBook came with Pages installed, when I purchased iWork with my computer.
Now, if you don’t have Pages, I guess you’re straight up out of luck to try it my way. I think you can do more or less the same thing on PicMonkey, although I don’t believe they have a collage feature yet, and iPiccy is another online photo editor I just heard about, which apparently does have the collage feature. There are probably more out there, but they haven’t crossed my radar yet.
Okay, okay, I’m about to start this crazy tutorial, so I hope you’re ready.
Basically, I just go into iPhoto first, into my events, and choose a photo:
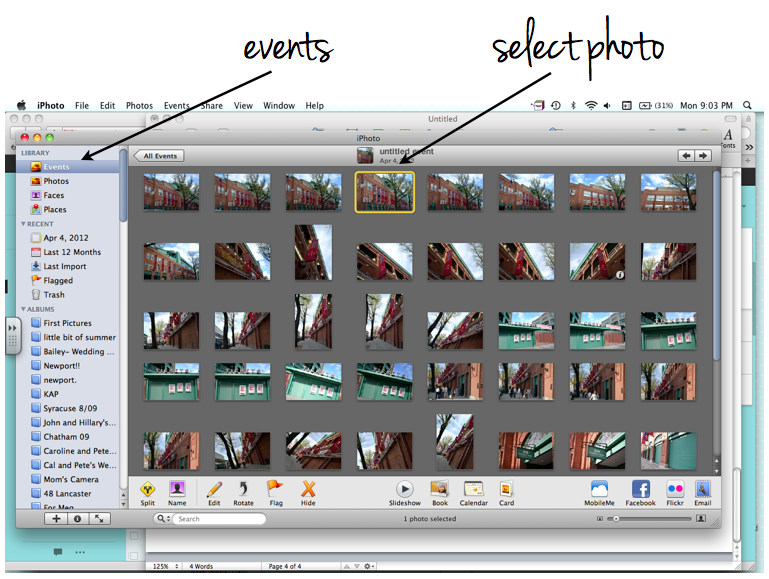
Let’s get one from Fenway Park, okay?
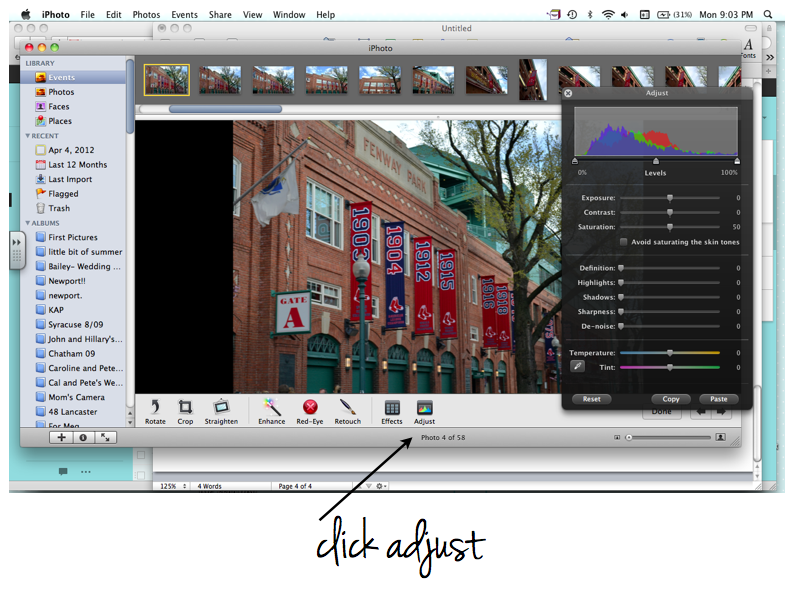
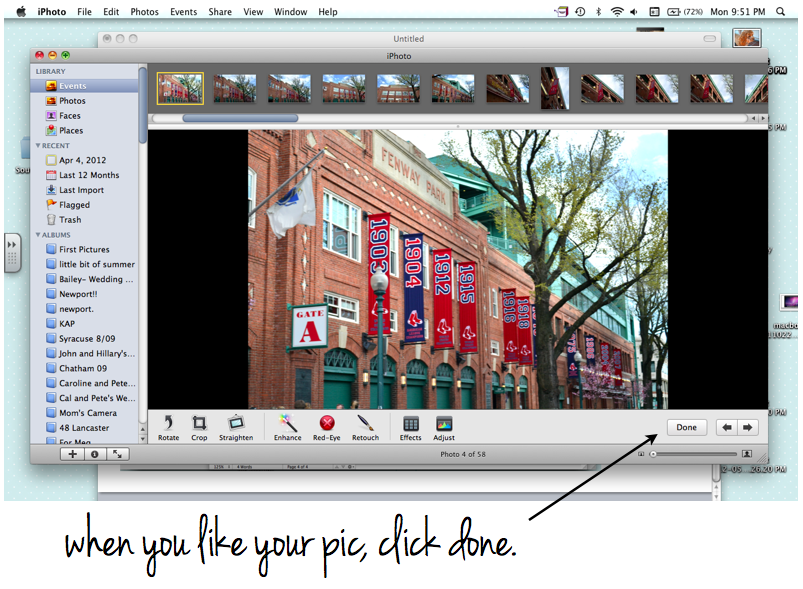
Then I do a little editing right in iPhoto:

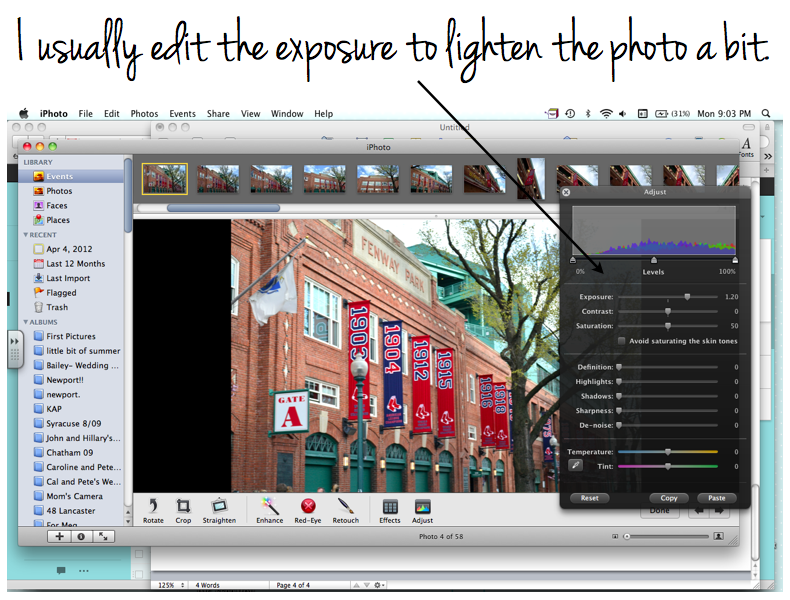
Now I’ve been trying to shoot my photos in manual mode for a few months now. I’m really loving how they look, but I often find they are just a liiiitle bit too dark. I just play around with the exposure a bit until I get the photo looking nice.
You can also play around with cropping here too. And touch-ups, and red-eye, and the like. Go to town on your photos! You really have the chance to make them look like gold in here.
Now quite often I filter my photos and that gets a little more complicated. Basically, I email myself my photos to my phone and filter them through Instagram (in airplane mode), then email them BACK to myself and open them up again, filtered this time, on my computer. It takes some time, but not that long, and I often like the filtered look for certain posts.
(You can also filter online at PicMonkey, which is fairly easy as well.)
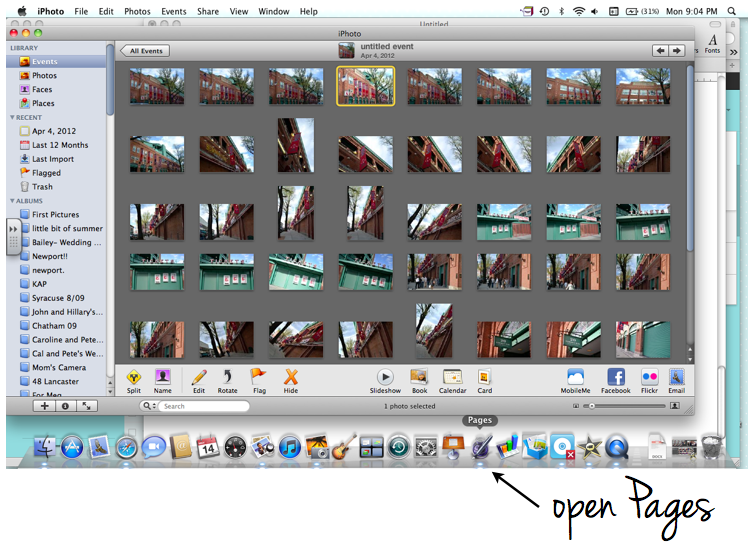
After you have your photo the way you like it, you’re ready to move into the graphic design part, which I do in Pages. Pages is technically a document program, but I’ve figured out how to do a LOT more with it, and it’s easy too.
Okay, let’s do this:
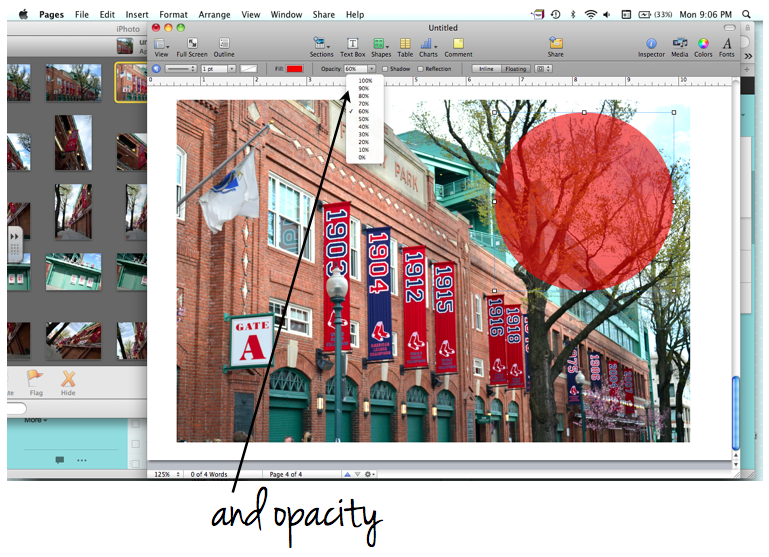
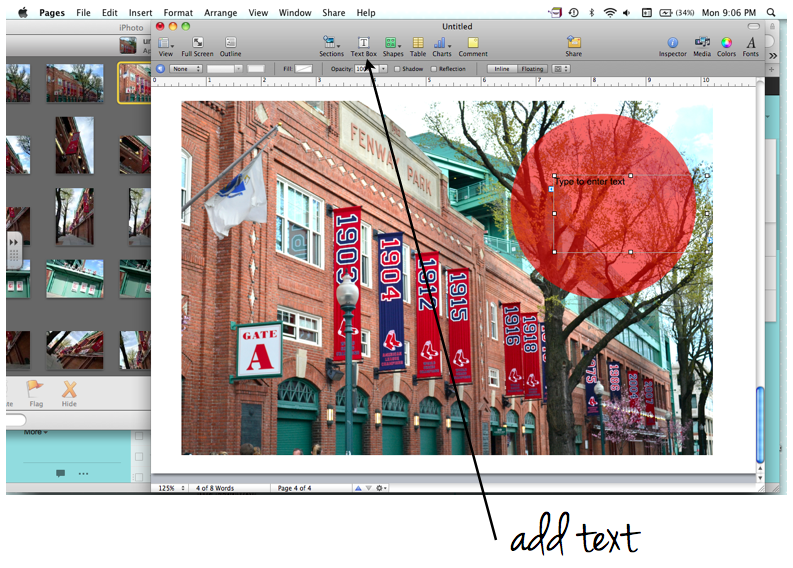
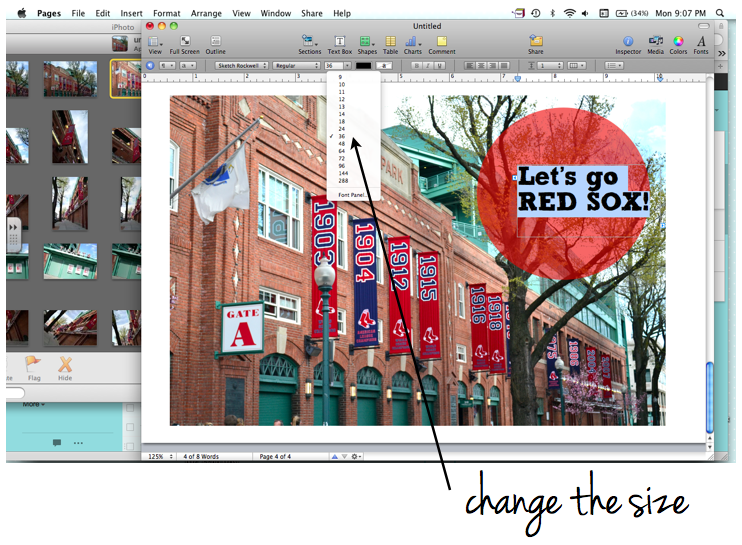
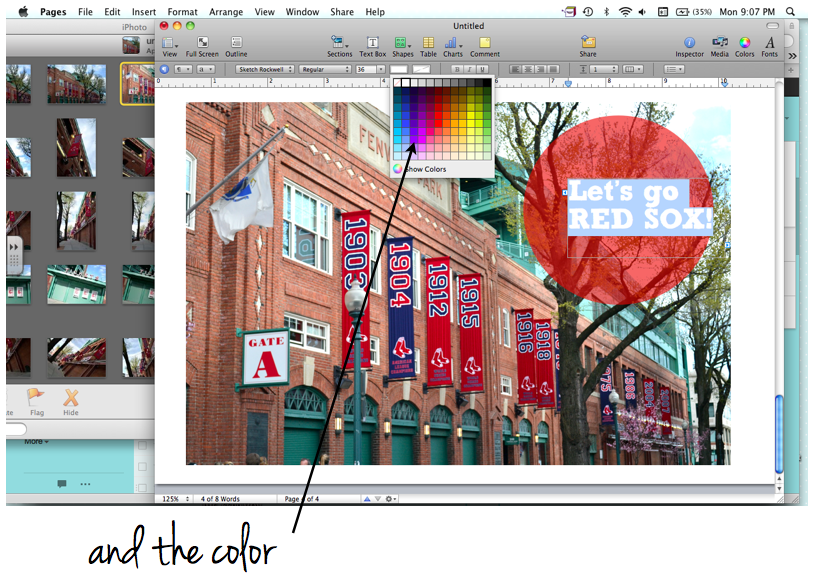
Now you’ll be working strictly in Pages. This is the fun part:

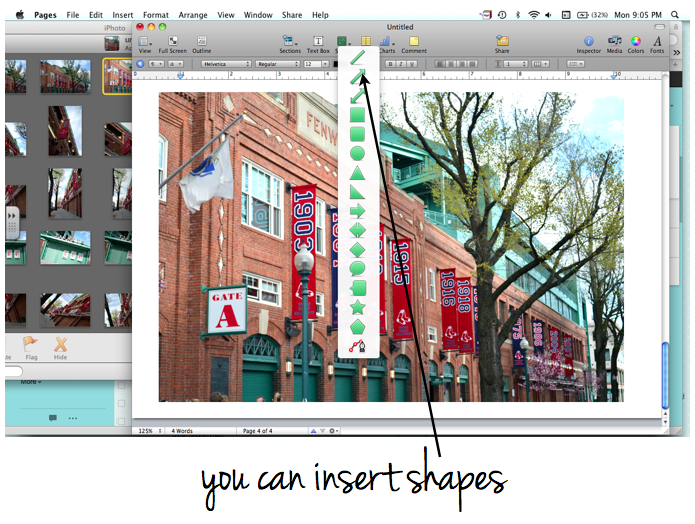
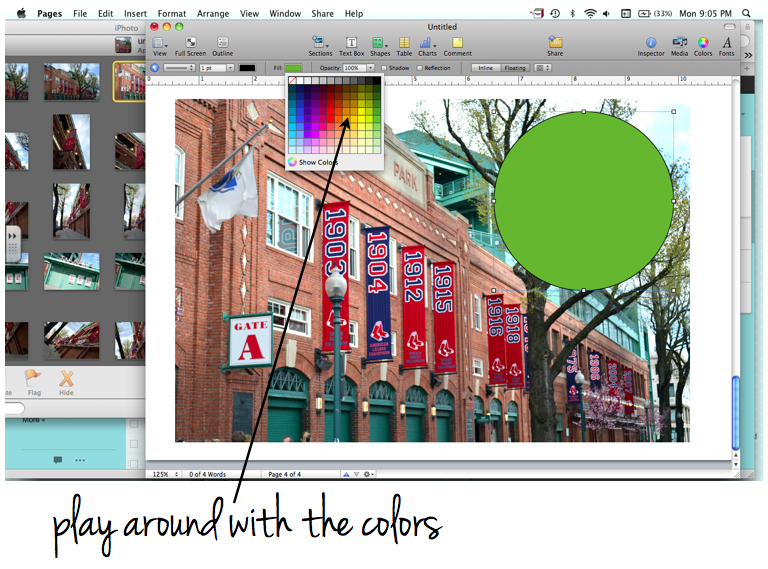

Fonts are my favorite thing EVER and you can download so many for free!
I’ve gotten a bunch of mine from Going Home to Roost and In My Own Style.
Also, Pinterest is perfect for this sort of thing. Just type in free fonts and loads of links will pop up. So awesome.
From here, you basically just take a screen shot of your final image:
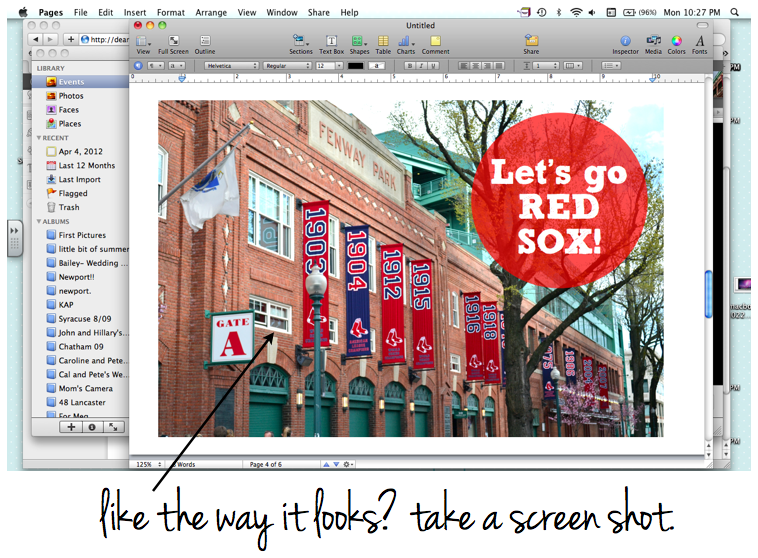
To take a screen shot on a Mac you just need to press SHIFT, COMMAND and the number 4 all at the same time. Then you just drag the curser over the image and in saves the images automatically on your desktop.
EASY PEASY LEMON SQUEEZY.
And… TAADAAAA:
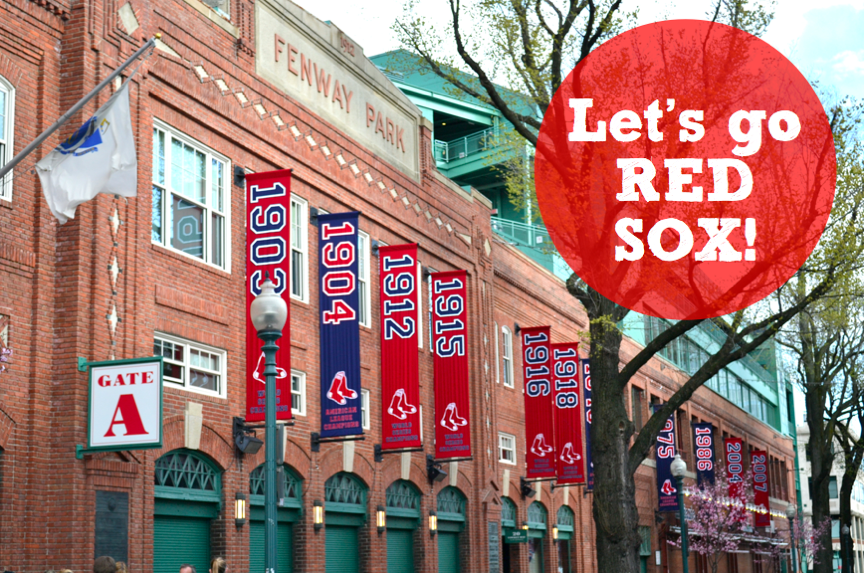
Done and DONE.
Oh, wait, you wanted to know how I do collages too, right?
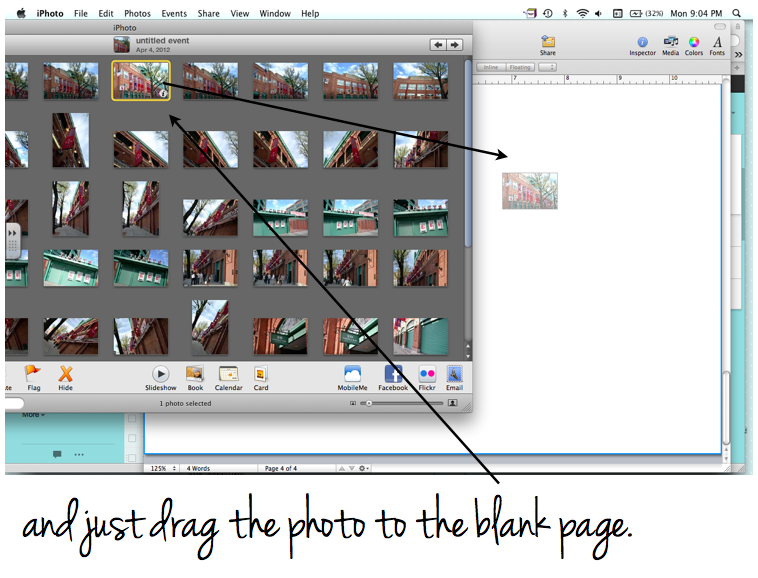
So remember when we dragged that photo from iPhoto into Pages? All I do is drag as many photos as I want into Pages and then resize them and rearrange them as I please.
You can do anything from instagram pictures, to regular camera photos too.
Here’s a little collage I just whipped up: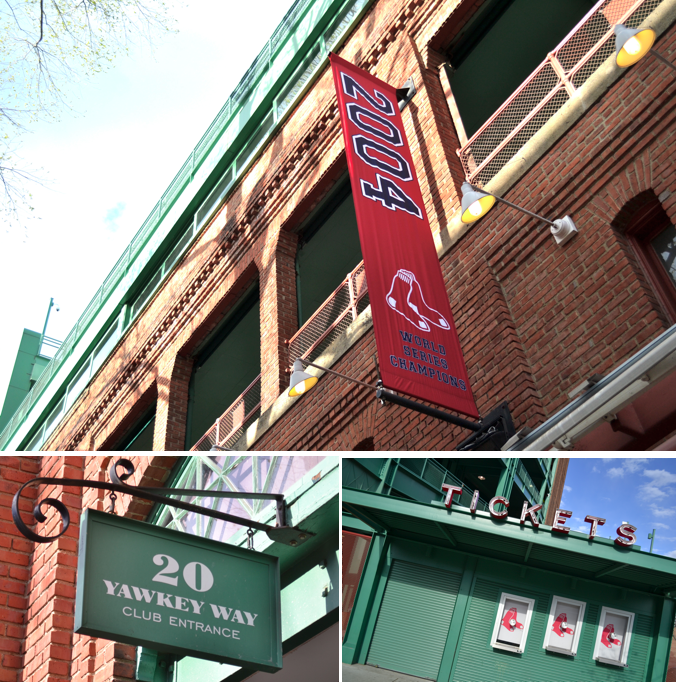
Oh, 2004 World Series, I will never forget you.
And so really, that’s that.
I don’t know if it’s the best way, but I have a lot of freedom with it, which is something I don’t find on many of the online editing sites. Also, at this point I’ve gotten so familiar with the whole thing, that it takes me probably around 25-30 minutes to edit a bunch of pictures for a post. Not too shabby.
So there you have it. THAT is how I edit my photos. I hope it entertained you a little, and if I’m lucky I might have even helped a few people out.
Feel free to leave a comment or shoot me an email if you have any more questions! I’ll try to get back to you if I know the answer, but really, like with anything, the ease of it comes with just a bunch of trial and error. I do think I’ve found something that works well for me, which I’m happy about. And maybe, hopefully!, it can work for you too.
Do you have a different way of editing for free that you like? Care to share?
And now, I will gladly announce that this is THE END of this incredible long and likely confusing tutorial.
Adios for now, friends.
I’m out!